Showing posts with label side dish. Show all posts

03 February 2015

Recipe: Cheese-Filled Tater Tots

As I'm sure you've noticed by now, I hate wasting kitchen space with single use appliances. So when I get a new toy for my kitchen, I have to come up with at least five new ways to use it (other than its intended use). And since my amazing friend Brenda gave me an electric cake pops maker for Christmas, I've been busily coming up with new and fun ways to use it. Today, I perfected the process for making delicious cheese filled tater tots in my cake pops maker.

You will need:
1 pound shredded potatoes
24 quarter inch cubes of cheese (any variety - you can even use vegan cheese, if you want to make these vegan-friendly!)
Nonstick cooking spray
Salt
Electric cake pops maker

In a large bowl, sprinkle a little bit of salt (and any other seasonings you desire)* onto the shredded potatoes. Microwave on high for 3 to 4 minutes, until potato shreds just start to stick together. Stir.

Allow potatoes to cool slightly. 

Take a pinch of the partially cooked potato shreds in your hand.  
Place cheese in the center. 
Press potatoes around the cheese and form into a tight ball, approximately the size of the holes in your cake pops maker. You want the balls to be big enough that they will come into contact with all of the cooking surfaces when the appliance is closed, but not so big that it's difficult to close the lid.
Place potato balls in preheated cake pops maker that is been sprayed with nonstick cooking spray. Close and let bake for 8 to 10 minutes. 
Let sit for an additional minute before removing from the cake pops maker. Serve warm.

*note: It is important to season the potatoes before forming into tater tots. The crust on the outside of the tots will keep the seasoning sprinkled on at the end from penetrating to the middle, giving you bland and flavorless tots.

Variation: omit the cheese entirely for simple, giant tater tots with essentially zero fat. (Without the cheese, these tots can fit vegan diets as well.)

This was my third attempt at making the tater tots in my cake pop maker. The first time, I tried doing it with raw shredded potatoes. They were delicious, but didn't hold together in tater tot form. Next, I tried cooking the potatoes before shredding them. They held the shape well but the texture was off. (More like crispy mashed potato balls.) It appears that the secret is shredding the potatoes first and then partially cooking them for maximum effect.

01 February 2015

Last-Minute Superbowl Snack Recipes

It's Superbowl Sunday! 

It's the one day a year that we actually watch the commercials on TV, and everyone has loads of epic snacks to munch on. And I think, in between commercials, there's some kind of sports event going on in the background. ;)

So what snacks are you making this year? If you need some inspiration for quick and easy treats, here are a few of the things I'm making this year: Simple Stuffed Mushroom Caps, Mock Tempura Veggies, and Sweet & Sour Meatballs. The mock tempura veggies are vegetarian, though not vegan, and the meatballs and stuffed mushrooms will satisfy your carnivores! (You could easily make the mushrooms vegetarian by omitting the salami.)


Simple Stuffed Mushroom Caps
You will need:
mushrooms (as many as you want to make)
mozzarella or cheddar cheese (cut into 1/4-inch blocks - 1 per mushroom)
very thinly-sliced salami

Wash mushrooms and pull stems out of caps (set stems aside for later use). Cut a slice of salami in thirds and wrap one salami strip around a block of cheese. Place the salami-wrapped cheese into a mushroom cap. Bake at 425 degrees Fahrenheit for 6-8 minutes, until cheese is melted and mushrooms are slightly soft.

Mock-Tempura Veggies

You will need:
asparagus spears
baby carrots
onions
mushroom stems (saved from stuffed mushrooms above)
wonton skins

Spray a cookie sheet with non-stick cooking spray and preheat oven to 425 degrees Fahrenheit. Cut onions into wedges and pull apart the layers. Cut baby carrots in half, lengthwise (unless they're very thin carrots). Wrap each veggie piece with a wonton skin, sealing with a bit of water. (You'll probably use a full wonton skin for each of the asparagus spears, but you'll want to cut the wonton skins in half for the mushroom stems and baby carrots. The onion pieces may need a full or half wonton wrapper, depending on how big the onions are.) Place wrapped vegetables on cookie sheet, spray with a thin coat of non-stick cooking spray, and bake for 8-10 minutes, until wonton skins are golden brown and crisp. (Depending on your oven and how many veggies you cook at once, you may need to bake them for up to 15 minutes.)

Sweet & Sour Meatballs


You will need:
1-2 lb. frozen meatballs
1 jar apricot preserves*

Place meatballs into your crock pot and stir in full jar of apricot preserves. Cook for 1.5-3 hours on high or 4-5 hours on low. Serve.

*Optional variation: You can use grape jelly or orange marmalade instead of apricot preserves, for a slightly different sweet-and-sour flavor.

03 December 2014

Recipe: Creamy Chicken Tortellini Soup


This soup is addictive! I made a big pot of it for my family, and it was gone within minutes, with everyone wishing they had more. Even though our bellies were full, we were all disappointed when the soup was gone. I actually made a second batch and put it in the fridge. (Everyone had soup for breakfast the next morning!) Now, every time I start chopping up carrots, my kids come running to ask "Are you making that delicious soup again??"

Creamy Chicken Tortellini Soup
For 12 large bowls full, you will need:
1/2 lb. carrots, chopped
1/2 c. dried, diced onions
2 Tbsp. minced garlic
2 Tbsp. chicken bouillon
1/2 tsp. cayenne pepper
1-2 tsp. oregano
1 1/2 c. cooked, diced chicken
2 (10.5oz) cans cream of mushroom (or cream of celery) soup
water
1 lb. fresh cheese tortellini (I used the tri-color variety)

Put chopped carrots and onions in a 5-quart pot, and add just enough water to cover the vegetables. Add chicken bouillon, garlic, oregano, and cayenne pepper. Cook on high 5-10 minutes, just until carrots are slightly tender. (Don't overcook! You don't want mushy carrots by the end of the process.)

Add cream soups, diced chicken, and enough water to fill the pot 2/3 full. Let simmer 10-15 minutes, to allow the flavors to develop.

Stir in pasta, and let cook 5-7 more minutes, until pasta has reached desired tenderness. Serve.


19 November 2014

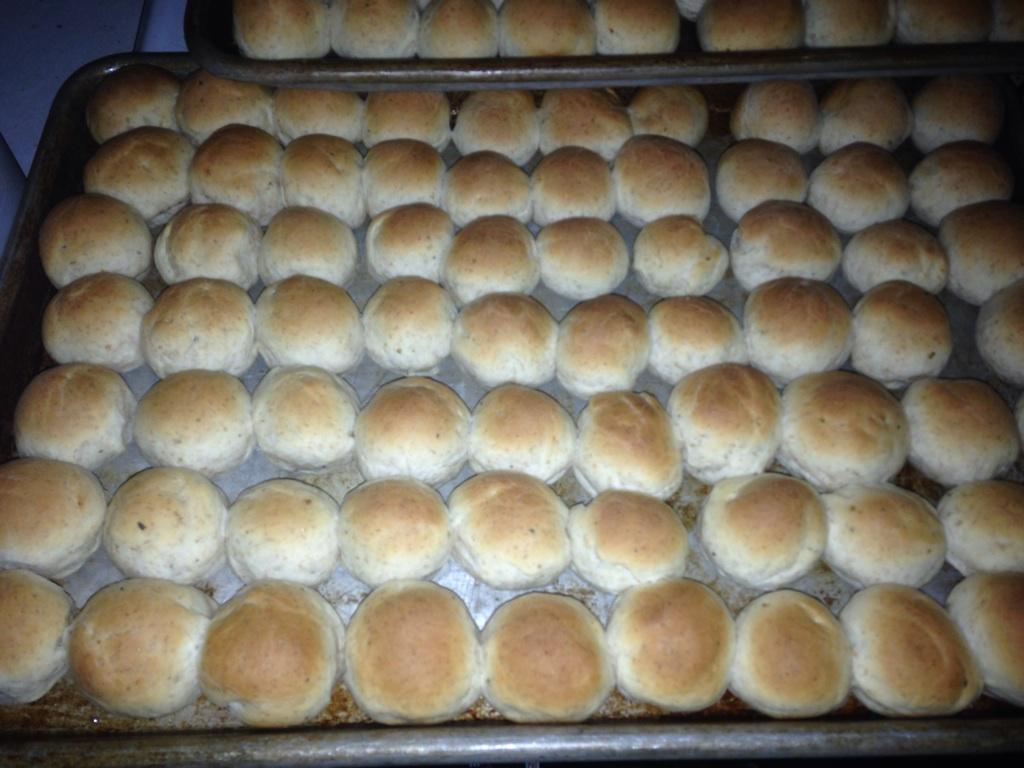
Recipe: 1-Hour Garlic Oregano Bread Bites

For special occasion meals, there's nothing better than fresh-baked bread. But I'm too impatient for hours of waiting for the dough to rise. These little rolls take almost no time to make. From start to finish, you can have fresh bread in about an hour. Perfect for your Thanksgiving feast!

Garlic Oregano Bread Bites

For approximately 6 dozen bread bites, you will need:
1 c. + 3 Tbsp. warm water
2 Tbsp. yeast
1/4 c. sugar
1/3 c. oil
1 tsp. salt
1 Tbsp. oregano
2 tsp. garlic powder
3 1/2 c. flour

In a large mixing bowl, combine water, yeast, sugar and oil. Let sit for 15 minutes.

Turn on oven to 400 degrees Fahrenheit.

Add salt, oregano, garlic and flour. Mix until a dough is formed and all flour is incorporated.

Turn out onto a floured surface and knead until smooth and elastic. (The dough should be no longer sticky, and you should be able to stretch it without it breaking immediately.)
OR
In your electric mixer, with the dough hook attachment, knead dough until smooth and elastic.

Shape into 1-inch balls and place on a greased cookie sheet. Dough balls should be spaced approximately half an inch apart to allow room for them to rise. Let sit in a warm place (like on top of the preheating oven) for 15 minutes.

Bake for 10-15 minutes, until rolls are golden brown. Serve warm.

19 August 2014

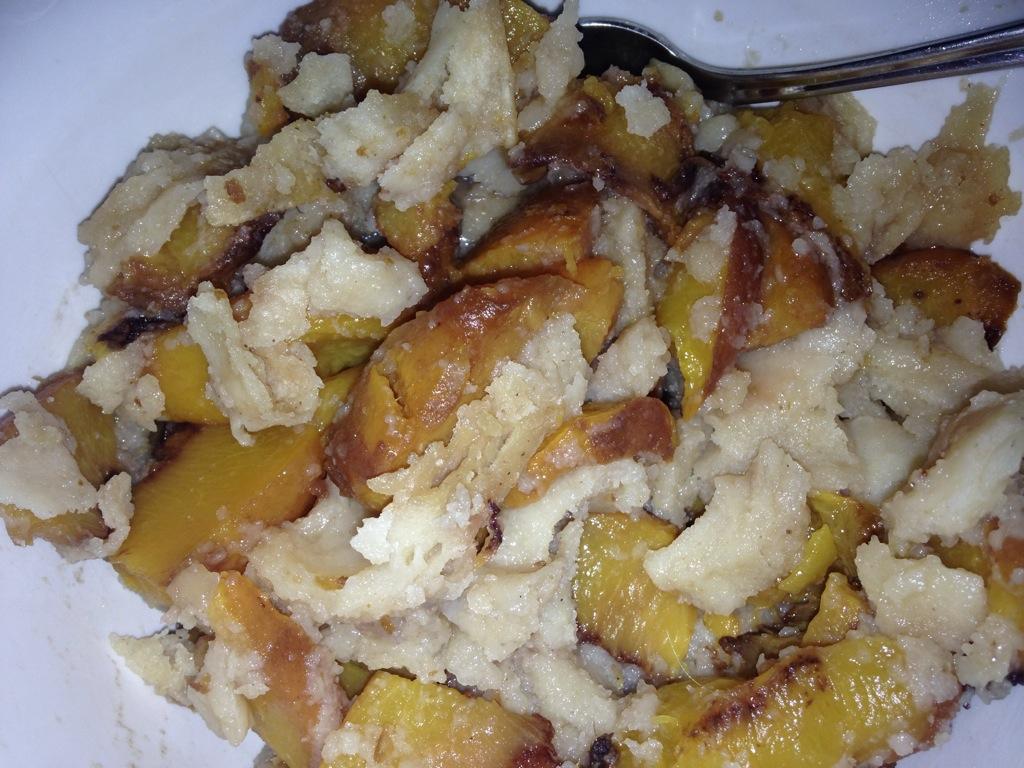
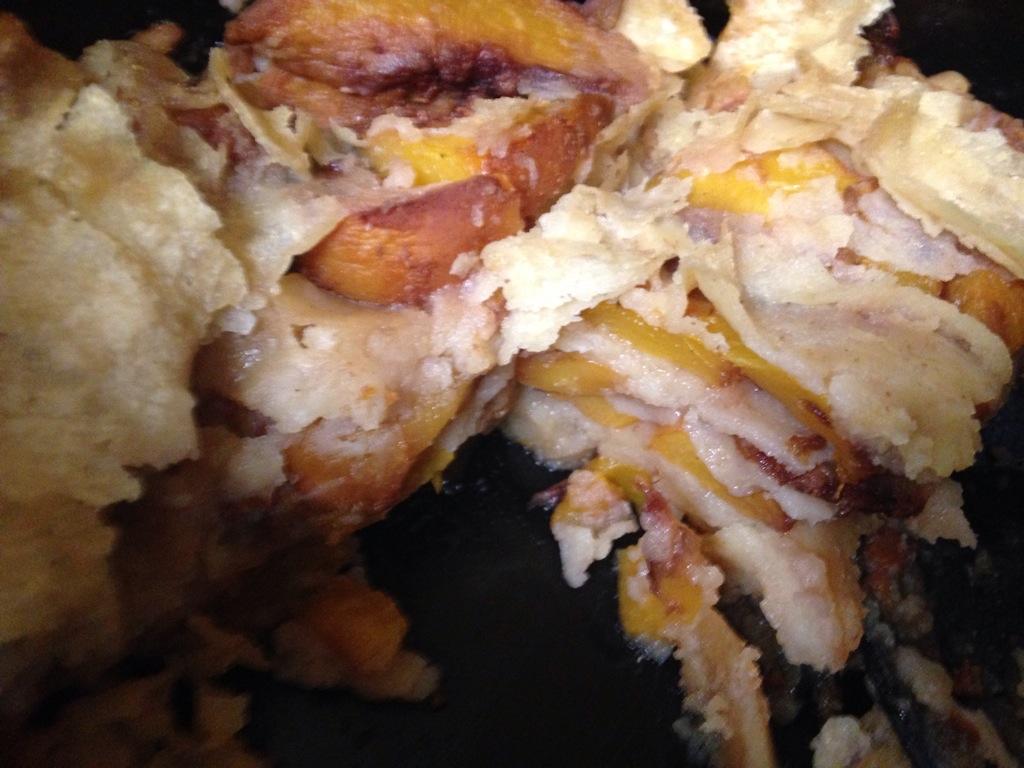
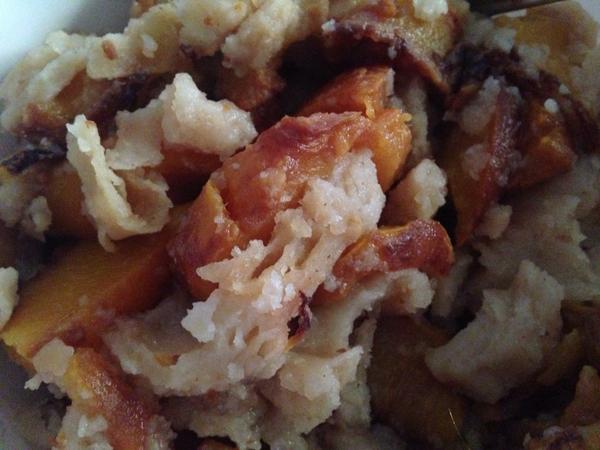
Crock Pot Gourmet Recipe: 3-Ingredient, Gluten-Free Peach Cobbler

This time of year, I prefer a lighter, mostly vegetarian diet (meat and heavy starches weigh me down in the hotter months, and I just feel sluggish), but my family misses the comfort foods and treats we often enjoy in the winter. So when my friend gave me a big batch of slightly-squishy peaches, I decided to try a lighter twist on peach cobbler. With only 3 ingredients in the Crock Pot, it's super-simple to put together, and just as delicious as "the real thing!"

For a batch that fills a 5-quart Crock Pot, you will need:
* 12-16 corn tortillas (3-4 per layer)
* approximately 2 dozen peaches, pitted and sliced (perfect use for the peaches that are starting to get over-ripe, or you could probably use canned peaches, drained)
* 1/2 to 1 c. brown sugar, divided (if using canned peaches, you may want to use even less sugar)

Spray crock with non-stick cooking oil. Spread 1/4 of the sliced peaches in a layer on the bottom of the Crock Pot. Top with 3-4 tortillas. (I prefer to use 3 tortillas. If you position them like in the picture below, you can tear the middle one in half to cover the outside edges of the layer, avoiding a 4-way overlap, and a very thick layer of tortilla, in the center of the dish.)
Sprinkle with 1/4 of the brown sugar (I used approximately 3/4 c. total, but you can use more or less depending upon how sweet your peaches are, and how sweet you want the final cobbler to be).

Repeat layers 4 times, ending with a sprinkling of brown sugar.

Cook on low for 5-6 hours (or overnight if you want a delicious breakfast to wake up to!)

Serve warm or cold, either by itself, or with your favorite whipped cream / plain yogurt / ice cream.

This recipe is naturally gluten-free and vegan!

13 December 2013

Crock Pot Gourmet: Pumpkin Custard


I always make too much filling when I bake pumpkin pies, and I usually pour the excess into a dish to bake alongside the pie for a delicious, Baked Pumpkin Custard. This year, I decided to omit the pie crust altogether and try baking the custard in my Crock Pot instead. It was delicious and super simple, and this recipe will definitely be returning as a staple in our home. (It's nutritious enough - packed with all the lovely vitamins from the pumpkin - that I've even made it for a special breakfast treat!)

You will need: 
2 eggs
1 (15 oz) can pumpkin (or 2 c. pumpkin puree)
1 tsp. cinnamon
1/2 tsp. salt
1/2 tsp. ginger
1/2 tsp. pumpkin pie spice
dash cayenne pepper (optional, but totally delicious!)
1 c. dry milk
1 c. water

Beat eggs in a large bowl. Stir in pumpkin and spices. Add sugar and dry milk powder. Beat until thoroughly combined. Slowly whisk in water. Pour into greased 2 1/2 quart crock pot. Cook on low for 4-6 hours, until a knife inserted into the center of the custard comes out clean.

(For a larger crowd, you can easily double the recipe.)


24 August 2013

Crock Pot Gourmet: Pot Roast and Veggies

Pot Roast is one of the easiest Crock Pot recipes, but it's satisfying and delicious after a long day, especially as the weather cools and fall approaches, and you can cook the entire meal in one pot, which is always a bonus.

You will need:
1 roast (4-6 lb)
2 large onions
2 lb. carrots
2 lb. small red potatoes
1/4 c. dried mushroom pieces
1-2 tsp. salt (optional)
1-2 tsp. garlic powder
1-2 tsp. Italian seasoning
7-8 beef bouillon cubes
2-4 Tbsp. cornstarch (optional - to thicken gravy)
1-2 c. water

Quarter the onions and put in the bottom of a 7-quart crock pot.

Add mushroom pieces...


... and potatoes (you can cut them in half or quarter them if you like, but I prefer to leave them whole).

Peel carrots and cut into 2-inch chunks.

Put in Crock Pot with other vegetables.
 Add bouillon cubes, garlic powder, Italian seasoning, salt (if desired) and cornstarch (use more cornstarch for a thicker gravy and less for a thinner sauce).
 Place roast on top of veggies and add water.
 Cook on low for approximately 8 hours, until roast is cooked 
(check internal temperature with a meat thermometer).
Serve as is, or with warm rolls and a green salad.

03 July 2013

Crock Pot Gourmet: Baked Beans

Baked Black Beans with BBQ Pulled Pork Sandwich, potato salad & mixed veggies

'Tis the season for backyard barbeques!
We have cookouts in these summer months, so we won't have to heat our houses by turning on the ovens. Yet, one of the staple side dishes at any good barbeque is Baked Beans - which are often slow-cooked in the oven. But this is one dish that easily converts to Crock Pot Gourmet cooking. The low and slow cooking method was made for the crock pot!

23 May 2013

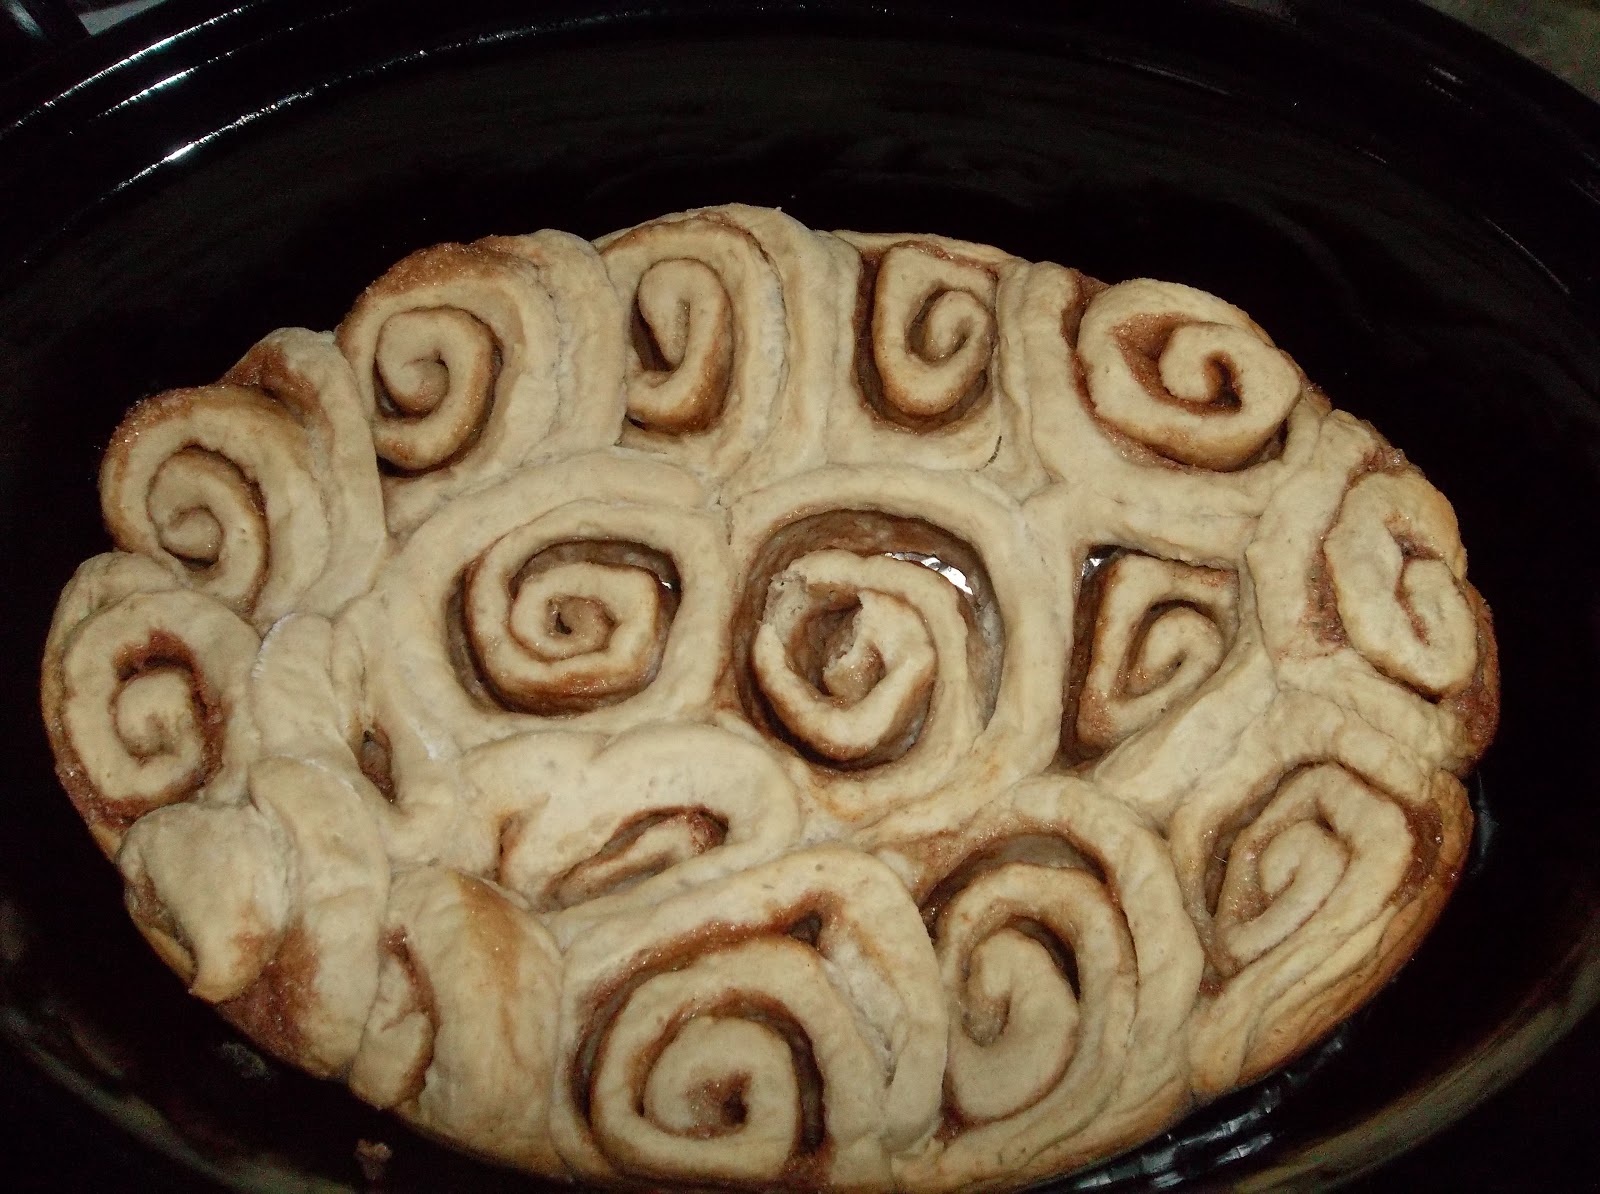
Crock Pot Gourmet: Cinnamon Rolls

It's getting to be summer time here in New Mexico, and I don't like turning on the oven (& heating up the house) any more than absolutely necessary, so I try to come up with alternatives for our favorite baked goods when warm weather hits. But sometimes, only the real thing will do, so when my daughter asked for Cinnamon Rolls for breakfast today, I thought I'd experiment a bit to see if I could bake them in my crock pot instead. (The answer is yes, I could!)
 
(If desired, you can finish these Cinnamon Rolls with your favorite glaze or cream cheese frosting, but I prefer my rolls unfrosted, because I don't care for massive amounts of sugar in the morning.)
 
 
First, I made a batch of my super-delicious and easy Cinnamon Roll Dough and divided it in half.
A scale makes it easy to divide dough exactly in half, but you can eyeball it if you don't have a scale. (Each half batch of dough weighed about 1 lb. 14 oz.) - You can also cut the ingredients for the recipe in half, if you're only making one batch of cinnamon rolls.

 
For one batch of Crock Pot Cinnamon Rolls, you will need:
2 Tbsp. butter, softened (for vegan diets, use margarine instead)
1/4 c. sugar
1 tsp. cinnamon
(optional): raisins, nuts, chocolate chips, craisins... whatever you like in your cinnamon rolls!

 
Sprinkle flour on clean, dry table.

 
Roll the dough ball in the flour to coat.

 
Roll out the dough into a large oval, about 1 cm thick.

 
(approximately 1/4 inch)

 
If you keep your butter in the fridge, like I do, you'll want to soften it slightly. Microwave on high (in a GLASS bowl or cup - plastic will melt) for 5-15 seconds.
You don't want to let it melt, just soften it until it spreads easily.

 
Spread butter on the dough. (For a lower-fat version, simply spray with a thin layer of non-stick cooking spray instead of spreading butter or margarine.)

 
In a small bowl, mix cinnamon and sugar together.

 
Sprinkle over dough, leaving about 1/2 inch on one long edge free of sugar.

 
If desired, sprinkle with a handful or two of raisins (or your favorite fillings).

 
Roll into a long cylinder, starting on edge opposite the unsugared edge.

 
Press slightly to seal dough together. Place, seam-side down on cutting surface.

 
Slice roll at approximately 1-inch intervals.

 
To prepare your crock pot for baking, roll a long piece of foil into a snake, and coil loosely in the bottom of your Crock Pot, shaping it to fill the space as fully as possible. Remove from crock.
 
Cut another piece of foil, slightly larger than your Crock Pot. Place the foil sheet over the top of Crock Pot, and place foil spiral on top of it.

 
Press down into the crock pot, to fill the bottom of the crock.
 
 
Fold edges in, around the spiral.

 
Flip foil disc over, so smooth side is facing up. 


Spray with non-stick cooking spray.

 
Arrange cinnamon rolls on foil.

 
Cook on High for about 2 or 2 1/2 hours.
Make sure to keep lid of Crock Pot slightly askew, so steam can escape, or you'll have a sticky, doughy mess when you're done.

 
Because the Crock Pot heats more slowly and gently than the oven, you don't need to let the rolls rise before turning on the Crock Pot. Simply put them in and turn it on. They plump up beautifully!

 
For comparison, this time, I made a second batch of rolls with the other half of the dough, baked in the oven (on a greased cookie sheet at 350 degrees Fahrenheit for about 20 minutes). The texture of the finished rolls was nearly identical... although I did get distracted right at the end of the cooking time for the Crock Pot batch and forgot to turn it off. I ended up with slightly burnt edges on the Crock Pot Cinnamon Rolls, but they were still delicious! I'll definitely make these again!

Update: A word of caution!! Make sure to take the cinnamon rolls OUT of the Crock Pot as soon as they are finished baking. For the cakes I've made, I've generally turned off the Crock Pot and let the cake cool in the crock before removing it, but because the cinnamon rolls are bread-based, they have less moisture than a cake to begin with. After baking my first batch, I left them in the Crock Pot to keep warm until my husband came home from work. And by the time he came home, about an hour and a half later, the rolls had dried out considerably. They were still tasty, but they were no longer fluffy and soft, as cinnamon rolls should be. It's and easily-solved problem. Simply remove the rolls to cool on a wire rack, or serve immediately while warm.

Of course, if you forget and leave the rolls in the Crock Pot until they're all dried out, like I did with half of the batch, all is not lost. Simply use them to make French Toast Casserole! It was so good!! :)